
Creating a New Document
To create a new Word document. Follow these steps to get started:
- Launch DOCX Editor by double-clicking its icon
 on your desktop or selecting it from your applications menu.
 - Once the Launch window is open, click the “Create New Document”
 button at the top-right corner of the window.
 - A blank Word editor window will be opened. The editor window may appear behind the Launch window. Simply click it to bring it forward.
- You’re now ready to begin typing your content in the blank document area.
Saving Documents
It’s important to save your work regularly to avoid losing any changes. Here’s how to save documents in DOCX Editor:
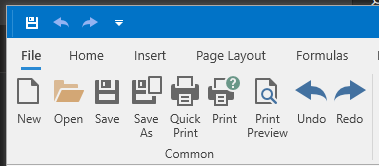
![]()
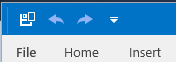
- Click the “Save” icon (fourth from the left) located at the top-left corner of the window.
- Alternatively, you can access the “Save” option from the “File>Save” menu.
- You can also use the keyboard shortcut “Ctrl + S” to quickly save your document.
- You will be prompted to confirm the file name and location to which you want to save the document.
- Choose to overwrite the existing document with your changes or save the document as a new file by specifying a different name or location.
Text Editing
DOCX Editor offers a range of text editing tools to help you customize your documents. Here are some essential commands:
- Typing Text: Click anywhere in the document area and start typing to add text.
- Deleting Text: Highlight the text you want to remove and press the “Delete” key on your keyboard.
- Selecting Text: Click and drag your mouse to select a portion of text. You can then apply formatting or delete the selected text.
- Copying and Pasting: To copy text, select it and press “Ctrl + C” on your keyboard. To paste, position your cursor and press “Ctrl + V”.
- Undo and Redo: If you make a mistake, use the “Undo” button in the toolbar or press “Ctrl + Z” to revert your last action. Press “Ctrl + Y” or use the “Redo” button to redo an action.
Formatting Text
Make your documents visually appealing by applying formatting to your text. Here’s how to do it in DOCX Editor
- Click the “Home” menu
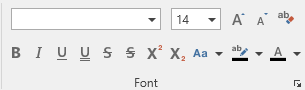
- Font Style and Size: Use the dropdown menus in the toolbar to select your desired font style and size.
- Bold, Italic, and Underline: Highlight the text you want to format and click the respective buttons in the toolbar to apply bold, italic, or underline formatting.
- Text Color: Click the “Text Color” button in the toolbar to choose a color for your text. You can select from predefined colors or create a custom color.
- Alignment: Utilize the alignment options in the toolbar to align your text left, center, right, or justify it.
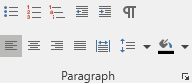
- Predefined text styles: click one of the text style options from the Style section.

Inserting and Formatting Images
Enhance your documents by adding images. Here’s how to insert and format images in DOCX Editor:
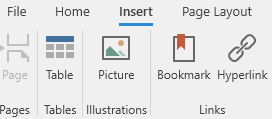
- Inserting Images: Go to the “Insert” menu and select “Picture”. Choose the image file you want to insert from your computer and click “Open”.
- Resizing Images: Click on the inserted image to select it, then click and drag the handles at the corners to resize it as desired.
- Aligning Images: Utilize the alignment options in the toolbar to align your image left, center, or right within the document.
Printing Documents
If you need a physical copy of your document, you can easily print it using DOCX Editor. Follow these steps to print your document:
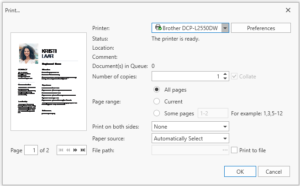
- Click on the “File” menu and select “Print”.
- In the print dialog box, adjust the print settings such as the printer, number of copies, and page range.
- Click “Print” to send the document to the printer.
Convert Word DOCX files to PDF
If you need to save your document as a PDF file, follow these steps:
- Click on the “File” menu and select “Print”.
- In the print dialog box, select “Microsoft Print to PDF” as the printer option.
- Adjust any printing settings as needed, such as page orientation or scaling.
- Click “Print” to generate the PDF file.
- You will then be prompted to choose the location where you want to save the PDF file. Enter a file name and select the desired location, then click “Save” to save the document as a PDF.
Convert Word DOCX files to other formats
If you need to save your document as other file formats, follow these steps:
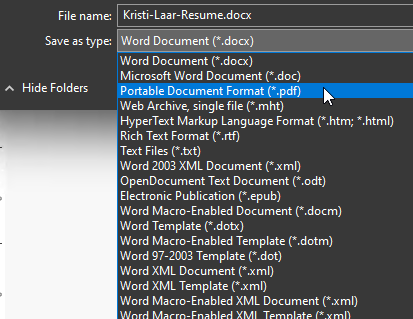
- Click on the “File” menu and select “Save as”.
- In the “Save As” dialog box, from the “Save as type” dropdown menu, select the file format you would like to convert to.
- Set the file name and the destination folder.
- Click “Save” to convert the file.