
How to launch the app
To open Total HEIC Converter, follow these steps:
- Press the Windows button on your keyboard or click the Windows icon at the bottom-left of the desktop.
- Type “Total HEIC Converter” in the search bar.
- Identify and click the application entry from the suggestion list with this app icon

- The main window appears once the app finishes launching.
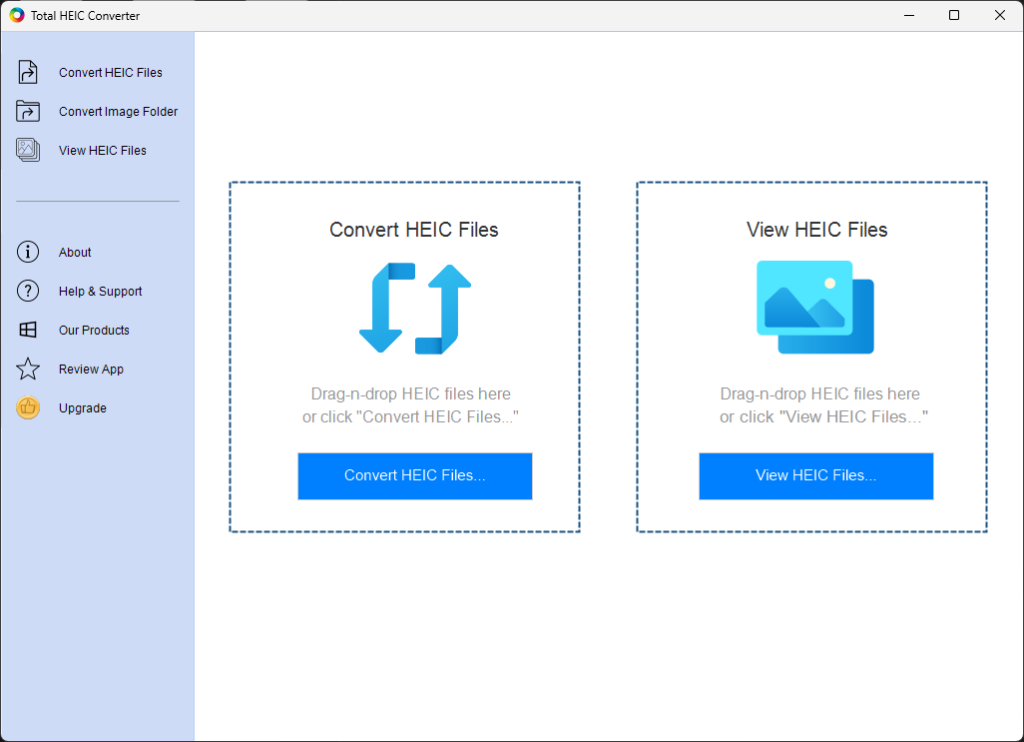
The main window offers direct access to two major functions of the app:
- The HEIC Converter: click the “Convert HEIC” button or drag-n-drop HEIC files onto the boxed area titled “Convert HEIC Files”.
- The HEIC Photo Viewer: click the “View HEIC” button or drag-n-drop HEIC photos onto the boxed area titled “View HEIC Files”
How to Add HEIC files
The app provides a dedicated HEIC (and images) Conversion Window for the conversion process.
There are two ways to open the HEIC Conversion Window:
Method 1: Use the “Convert HEIC” function buttons
- Launch Total HEIC Converter.
- Click “Convert HEIC Files” in the main area, “Convert HEIC Files” or “Convert Image Folder” on the side toolbar,
- In the Open File dialog box, locate the folder that contains the source HEIC files.
- Select the HEIC files or an image for conversion and click the Open button.
Method 2: Drag-n-drop from Windows Explorer into the app
- Launch Total HEIC Converter and arrive at the main interface, where you see the area marked as “Convert HEIC Files“
- Open Windows Explorer and locate the source HEIC files for conversion.
- Use your mouse to select one or more HEIC image files.
- Place the Total HEIC Converter window and the Windows Explorer side by side.
- Use your mouse to drag and drop the selected files from Windows Explorer into the Drag-n-drop zone in the dashed box marked for “Convert HEIC Files“.
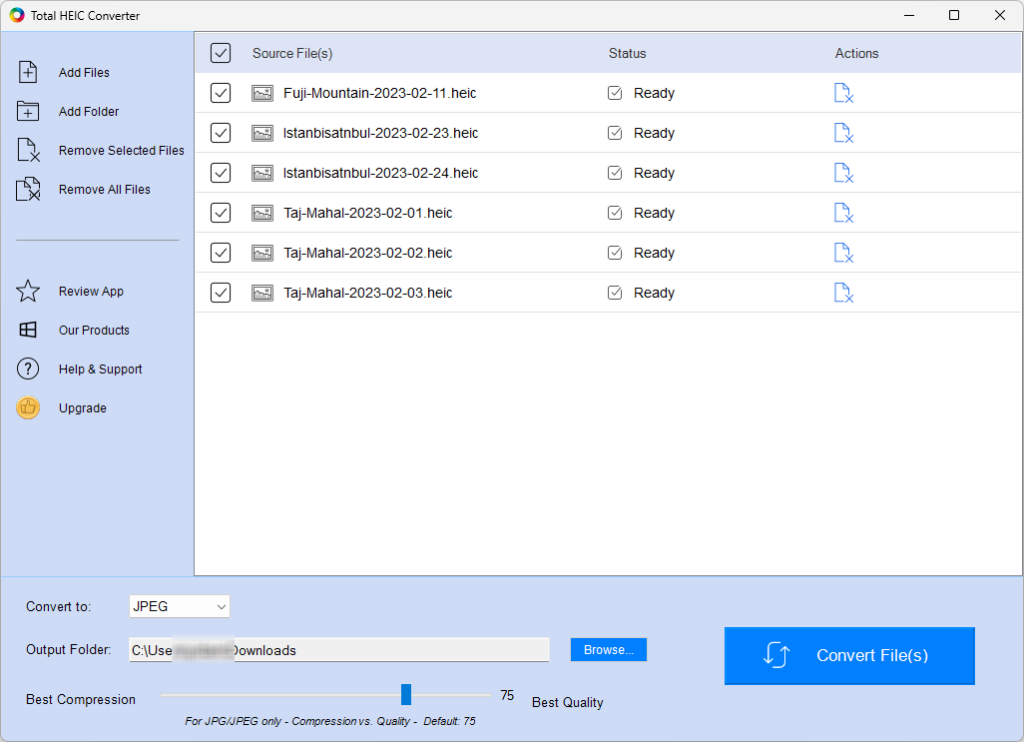
After the app finishes loading all source files, it displays them in the Conversion Window, where you can add or remove HEIC files.
Select output file format
Total HEIC Converter supports conversion to four image file formats: BMP, JPEG, JPG, and PNG.
To choose the desired file format for conversion, click the drop-down arrow labeled “Convert to:” and select the desired format. The app will automatically remember the selected format for future use.
Select output quality

Tailor your image conversions based on your preferences by using the slider option control to choose between “Best Compression” and “Best Quality”:
Best Compression: Utilizes high image compression to achieve a smaller footprint in image size while preserving essential image content. This often results in a smaller image file size.
Best Quality: Enhances the original image resolution and details without sacrificing any image content. This generally leads to a larger image file size.
How to convert HEIC files
After you have added all the HEIC files, selected the desired file format, and specified the output folder, click the “Convert Files” button on the bottom toolbar to initiate the conversion process.
Select files for conversion
Make sure you use the checkbox to mark any and all images for conversion as shown below:
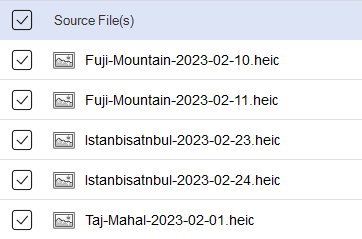
The app will convert all the selected files one by one and display the progress and status in real-time.
Review conversion results

After the conversion is complete, the app displays the conversion results and provide you with three options:
- Use the “Locate File” button – the Folder icon – next to each file under the “Actions” column to quickly find the converted image file in the destination folder.
- Use the “Remove File” button – the File with an X icon – to remove individual files from the file list. This action does NOT delete the file.
- Use the “View Image” button – the picture icon – to open the converted image in the viewer window.
To start a new conversion process for additional HEIC files, simply click the “Remove All Files” button to clear the current file list and start fresh.
HEIC photo viewer
The HEIC image viewer window extends its support to a wide range of image and photo formats, not limited to the HEIC file format. Featuring a user-friendly interface, it allows you to effortlessly view your photos, inspect image details, and execute various image-specific functions.
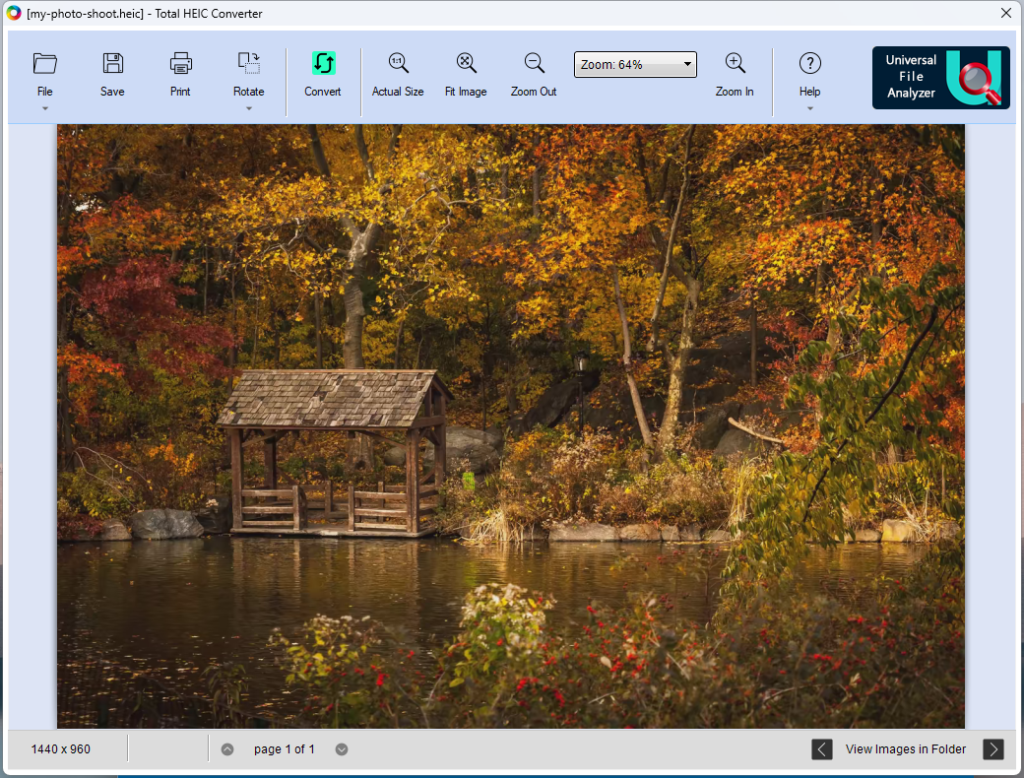
Viewing Images
In the Image Viewer, you have the flexibility to refine your image viewing experience. Load any image or photo file, and then adjust the zoom level to suit your preference. Easily navigate to other images within the same folder, or, if the image is in a multi-page format like TIFF, effortlessly flip through each page.
Multi-Page Image Navigation
For multi-page images, use the page control buttons, represented by chevrons on the toolbar, to navigate through different pages.
Image Folder Navigation
Effortlessly navigate through multiple images in the same folder without the need to repeatedly go through the Open File routine. After opening an image, use the left or right arrow keys on your keyboard to view images in sequence. Alternatively, you can utilize the “<” or “>” buttons located in the lower-right corner of the Image Viewer window to flip through the images.
More features in the viewer
The viewer also provides three essential features:
- Zoom: zoom in or out to enlarge or shrink the display of an image
- Rotate: rotate clockwise or counter-clockwise to adjust the orientation of an image
- Print: use templates to print images using your own printer