
Quick Start
One of the primary reasons to use the WSA Manager & APK Installer app (let’s call it the WSA+APK App from now and on), is to install and run APK installers on a Windows OS, just like you would on an Android device. This app provides you exactly just that.
1. Before installing APK files
Before installing any APK files, use the app to install and run WSA by connecting WSA to ADB. The app is designed to fully automate this process, with the option of manually configure each step.
Once WSA is fully ready, you can install and run APK files.
2. How to set up WSA
The WSA Status Manager is designed solely for the purpose of guiding you though all steps required to install and run WSA.
Click here to review the steps in detail
Click here for troubleshooting any issues that may come up
3. Install APK files
When WSA is ready, the app displays its readiness in both the Home screen as well as the WSA Status screen. Proceed with installing APK files using the following two methods:
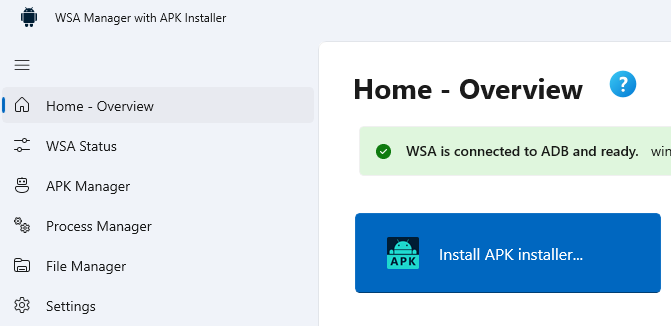
- Go to ‘Home – Overview’ and click the ‘Install APK installer…’
- Go to ‘APK Manager’ and click the ‘Install’ button [+] from toolbar at the top
Follow the prompt provided by the app to complete the installation process.
The WSA Status Manager is an important component of the overall WSA installation and configuration process, necessary for installing and running APK installers.
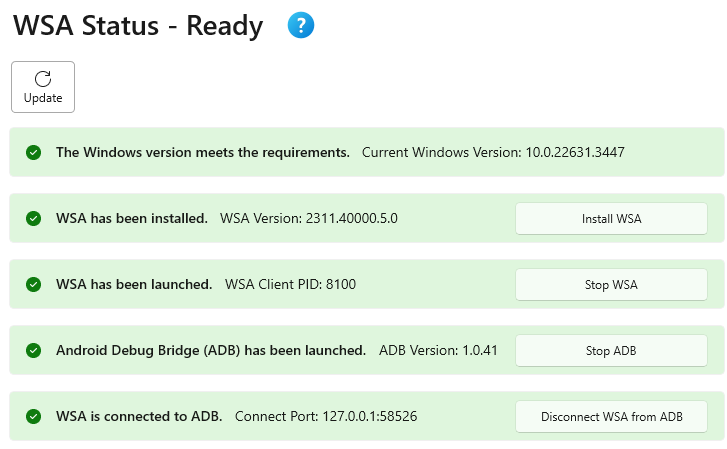
The WSA Status Manager window intuitively guides users through the following five essential steps to ensure WSA is fully installed and ready for use:
- Check the Windows version requirements.
- Install WSA for your Windows system.
- Launch WSA.
- Start ADB (Android Debug Bridge).
- Connect WSA to ADB.
Each step must be completed successfully to ensure that all dependencies and prerequisites are met before proceeding to the next step.
1. Windows Version Requirements

The minimum system requirement for Windows Versions are:
- Windows 10: 10.0.19045.2311
- Windows 11: supports all versions
2. Install WSA
WSA (Windows Subsystem for Android) is a feature in Windows 10 and 11 that enables users to run Android apps directly on their Windows devices without the need for an emulator. WSA creates a virtualized Android environment within Windows, allowing users to install and run Android apps seamlessly.

The app detects if a valid version of WSA has been installed and notifies you if a copy of WSA need to be installed. Click the “Install WSA” button and following the instructions to install WSA.
Note: Prior to installing WSA, it is essential to verify that all system settings prerequisites are correctly configured. These settings include:
- Ensuring “Hyper-V” is checked in the “Turn Windows features on or off” menu.
- Ensuring “Virtual Machine Platform” is checked.
Once WSA is installed, the app displays the current WSA version number.
3. Start WSA

Once WSA is installed, click the “Start WSA” button to launch the WSA. This process is usually pretty fast. Once WSA has started, the app displays the Client PID number just to assure you that WSA is actually running.

The Client PID (Process ID) number for Windows Subsystem for Android (WSA) can vary depending on the specific instance of the WSA process running on the system. Each instance of WSA will have its own unique PID assigned by the operating system. Therefore, there isn’t a specific or fixed client PID number for WSA.
4. Start ADB
ADB (Android Debug Bridge) is a versatile command-line tool that facilitates communication between the Windows OS and an Android device or environment, including WSA. WSA relies on ADB for communication between the Windows operating system and the Android environment it creates. ADB enables users to interact with the Android subsystem, install and run Android apps, and transfer files. The communication bridge provided by ADB is essential for managing and controlling the Android environment within Windows facilitated by WSA.

To initiate ADB, click the “Start ADB” button. ADB is included as part of the app installer and should have been installed during the installation process.
Once started, ADB displays its version number.

5. Connect WSA to ADB
The last step in the WSA management process is to connect WSA to ADB. Click the “Connect WSA to ADB” to initiate the connection

Do expect to encounter some issues while connecting WSA to ADB.
Note: If you continue to experience issues connecting WSA to ADB, Click here to review helpful tips and guides for troubleshooting any issues >>.
After WSA successfully connects to ADB, you are ready to install and run APK files.

APK Installer & Manager
1. Install APK files
When WSA is ready, install APK files from either the Home screen or the APK Installer & Manager.
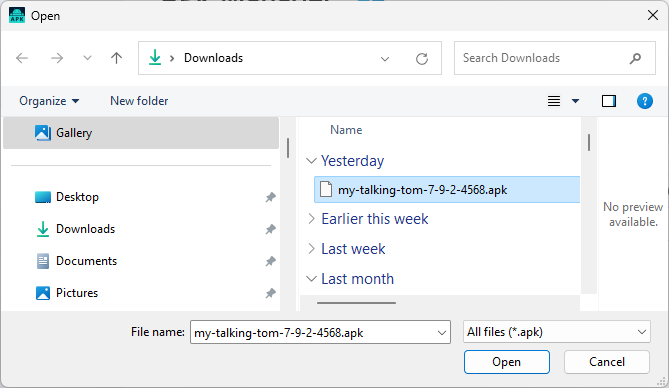
- Click the Install toolbar button with the [+] icon to start the process
- Select an .APK file from the file selection dialog box and click ‘OK’
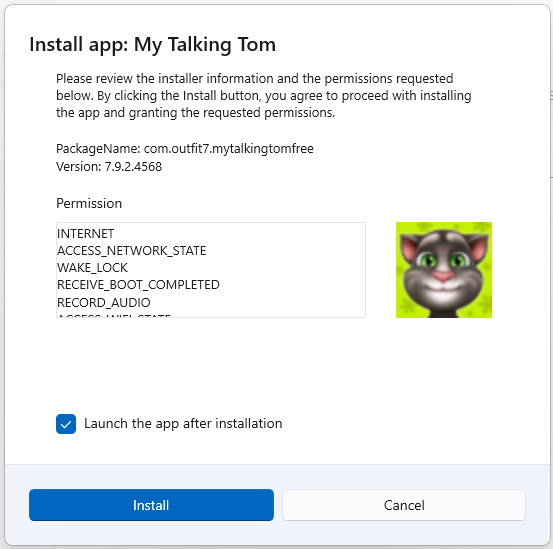
- Review APK app info from the Install app window. When you are ready, click the ‘Install’ button to start the process
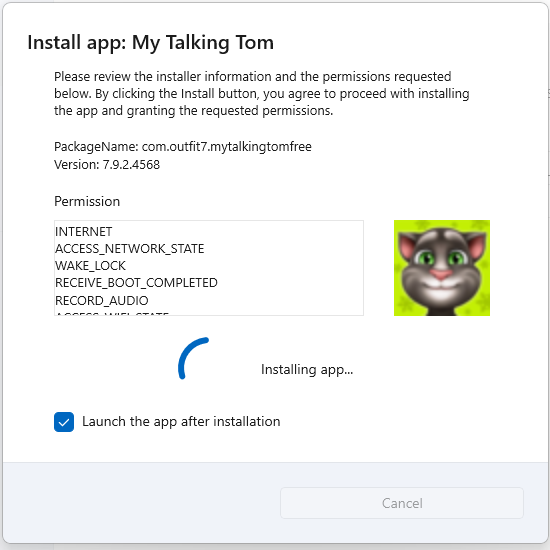
- Wait for the APK file to be installed
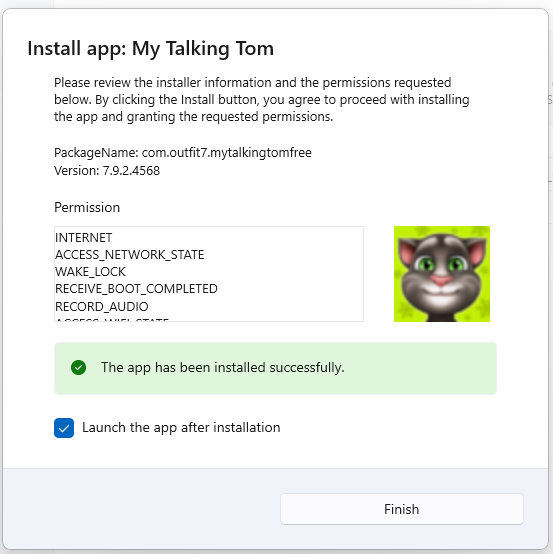
- Once the APK file has been installed, you will be notified. Click ‘Finish’ to complete the process (and launch the app if desired)
2. Run APK files
All installed APK files appear in the app list of the APK Manager, to run an APK file:
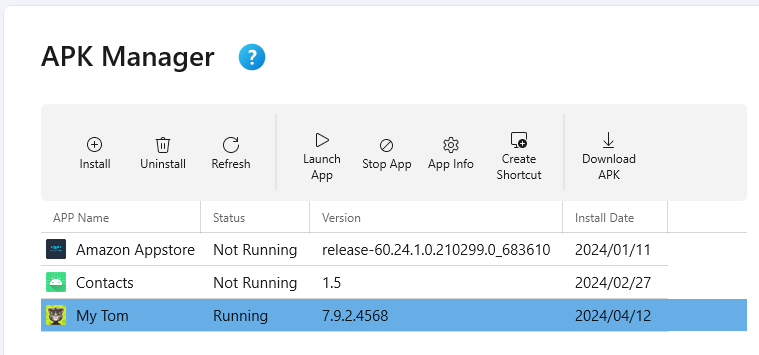
- Select the APK file entry
- Click the ‘Launch App‘ toolbar button
For ease of access, use the ‘Create Shortcut‘ toolbar button to add a shortcut to the installed APK instance on your desktop.
3. APK Management
The APK Manager offers additional functions for managing installed APK files:
- Uninstall: Remove an APK file from your Windows system.
- Refresh: Query and relist all installed APK files.
- Stop App: Terminate the running instance of an APK file.
- App Info: Review detailed information about the APK file.
- Create Shortcut: Add a desktop shortcut to the APK file.
- Download APK: Download an APK installer from a valid URL source.
Process Manager
Similar to the Windows Task Manager, the Process Manager provides a quick overview of the running processes within the WSA environment, including system processes and any currently running APK files.
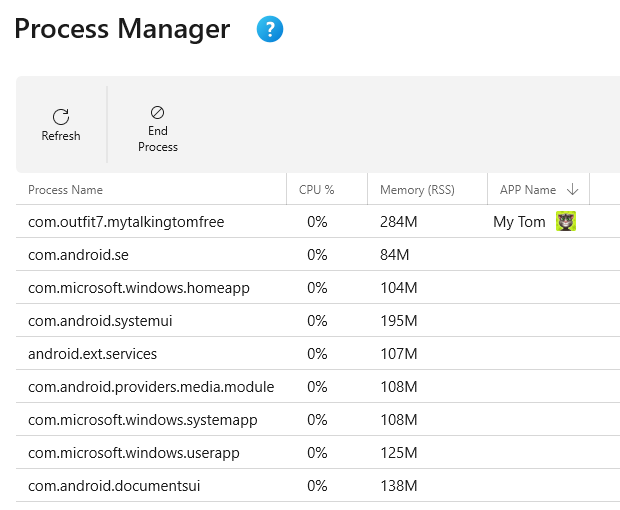
Functions available in the Process Manager include:
- Refresh: Query and relist all running processes.
- End Process: Force termination of a running process.
Note: Exercise caution when terminating processes, as ending system processes may unintentionally shut down the WSA environment.
File Manager
The File Manager displays the content of the WSA file system and offers functions to manage files and folders.
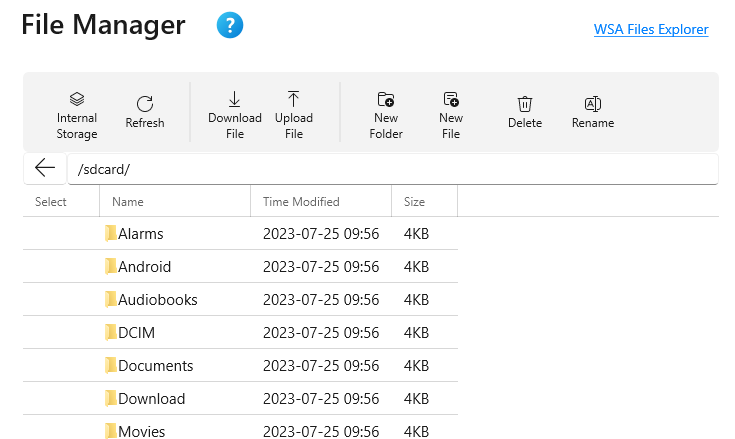
Functions available in the File Manager include:
- Internal Storage: Opens the default SD Card folder where documents and files are typically installed on an Android system.
- Refresh: Queries and relists the content of the current file folder location.
- Download File: Downloads selected files. Note: Only file-level download is supported; folder-level download is not supported.
- Upload File: Selects and uploads a file to the current file location.
- New Folder: Creates a new folder.
- New File: Creates a blank file.
- Delete: Deletes the currently selected file.
- Rename: Renames the currently selected file.